Event Hover
You can define a popup that shows more information about the event and related objects when the user hovers over an event.
This article will explain how to create a new Hover Definition, how to add fields and related lists to it, and how to apply it to the Scheduler.
Even though the label of the object is Hover Definition, the API name of this object is B25__Reservation_Display__c. In older GoMeddo versions, the label of the object was Reservation Displays, so look for this if you can't find Hover Definition.
Create a new Hover Definition
First, let's create a new Hover Definition that will act as a collection of fields and related lists to show in the hover popup.
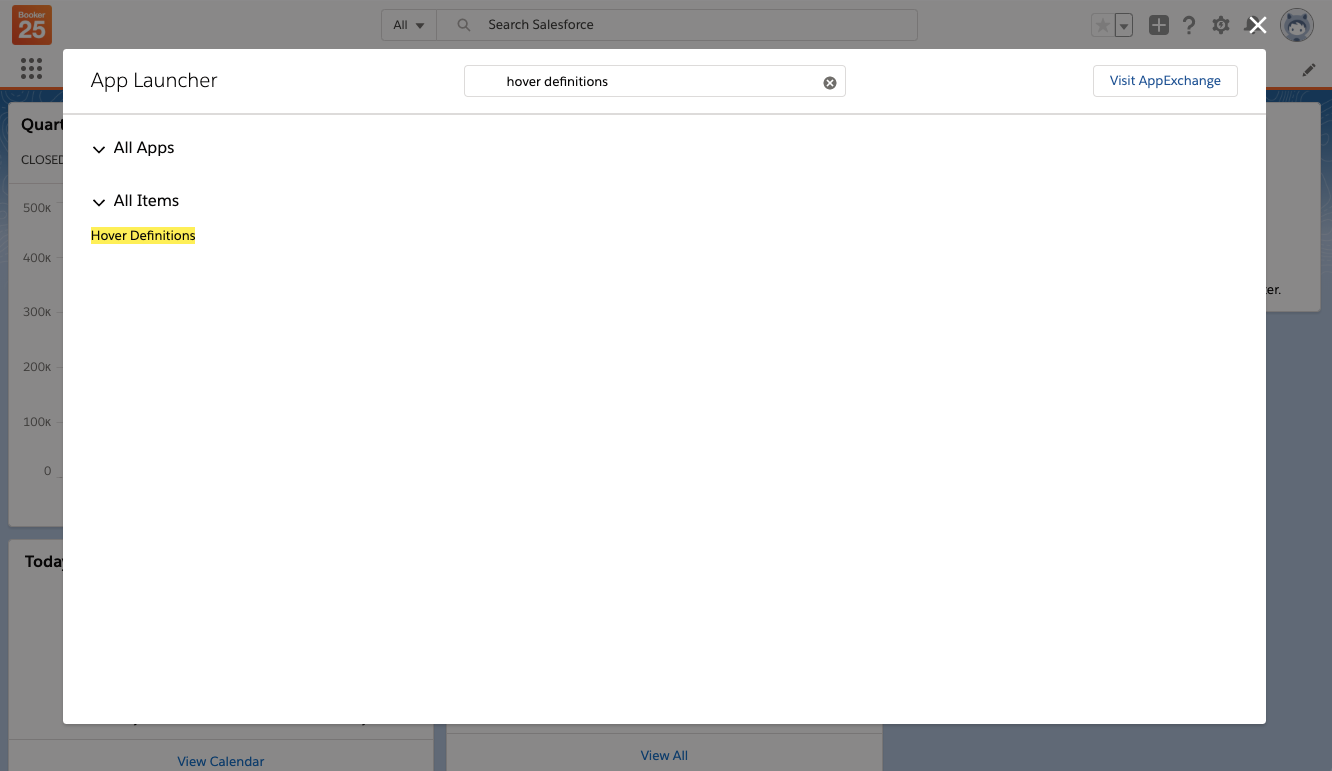
- Open the app launcher and search for the tab Hover Definitions
- On the Hover Definitions tab click New
For the SObject Type field input B25__Reservation_Template__c.
Note that this last step is different from creating Hover Definitions for the normal reservation calendars, where the SObject Type must be B25__Reservation__c.
Add fields to the Hover Definition
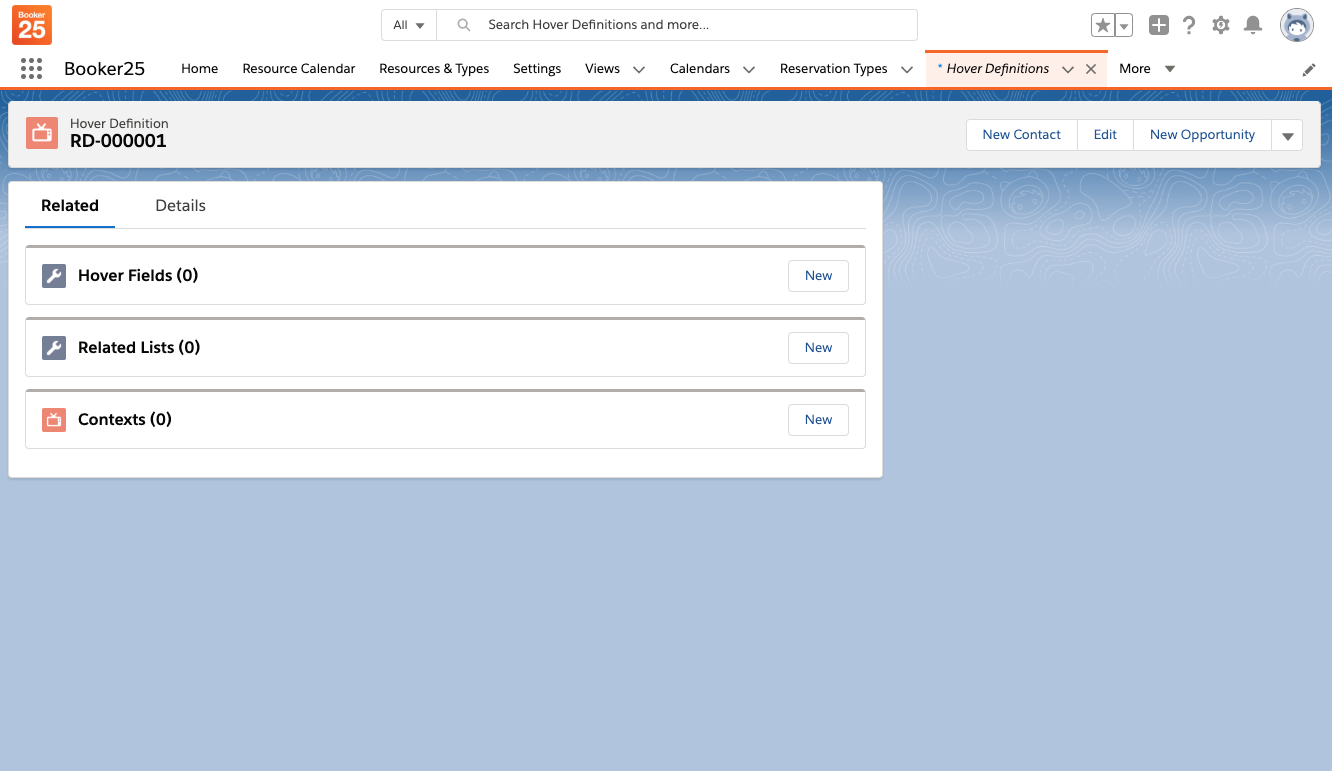
We have now defined a Hover Definition, but it will not show any fields or related lists yet. Let's add some fields.
- Navigate to the related tab of the Hover Definition
- Click new on the Hover Fields related list.
- Fill in the fields on Hover Field (see table below)
- Save the record and repeat the process for all fields you want to display.
| Field Name | Description |
|---|---|
| Hover Field Name | Api name of the field you want to display. For example B25__Number_Of_Sessions__c |
| Order | Number the number determines in what order the fields are shown with lower numbers first. |
| Label | Label you want to show before the value of the field. for example: Number of Sessions |
Add related lists to the Hover Definition
Besides showing fields, you might want to add some related lists.
- Click new on the Related Lists related list.
- Fill in the fields on Related List (see table below)
- Save the record and repeat the process for all related lists you want to display.
| Field Name | Description |
|---|---|
| Related List Name | The API name of a relationship from B25__Reservation_Template__c. For example B25__Reservations__r |
| Label | The label to display at the top of the related list. |
| Order | Number that determines in what order the related lists are shown. Lower numbers come first. |
| Order Records By | Comma separated list of API field names on the related object. The records in the related list will be ordered based on these fields. |
| Record Limit | The maximum number of records to show in this related list. |
For a related list to display it needs related list fields. these work in the same way as hover fields but are a related list under related list.
Apply the Hover Definition to the component
Now that we have defined a Hover Definition we can display it when a user hovers over an event block. There are two ways to do this.
Option 1: Configure it on the component
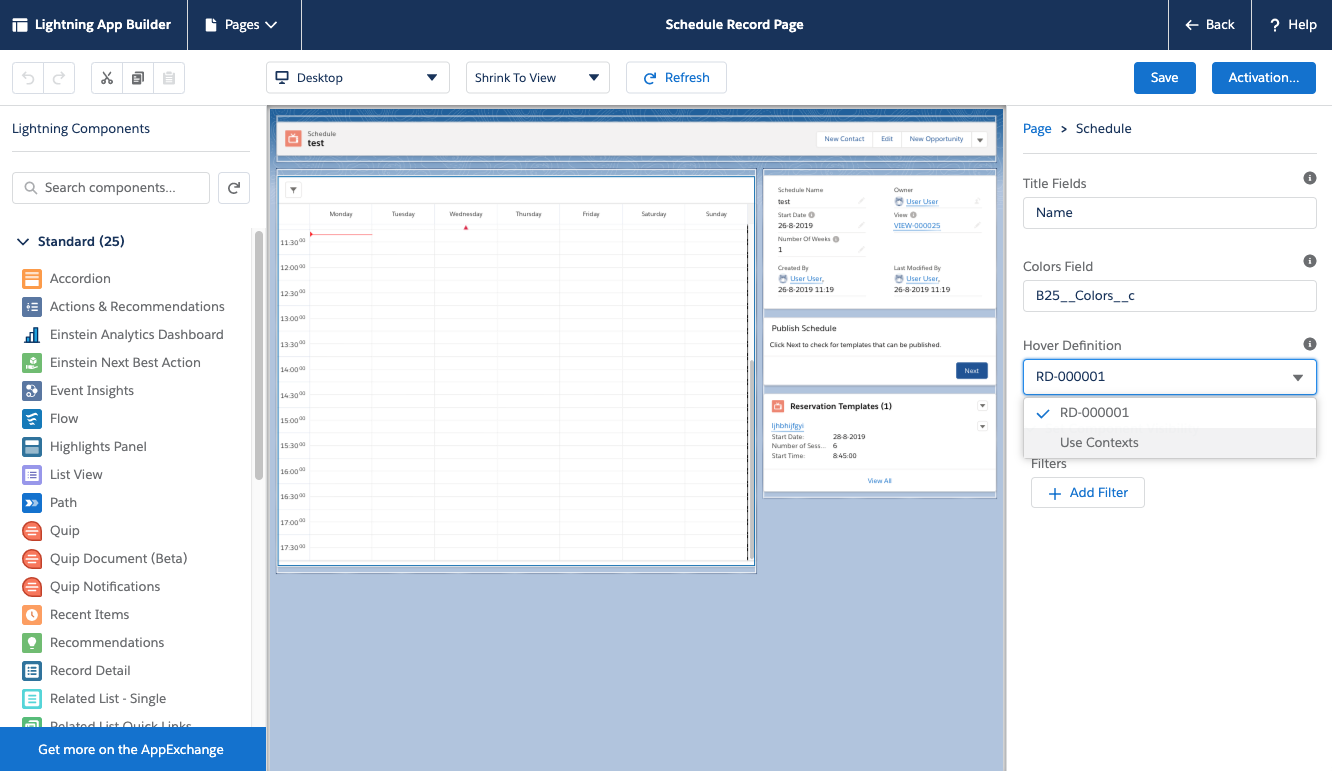
You can select which hover definition to apply by selecting it in the Hover Definition dropdown in the app builder.
Option 2: Configure it using Reservation Display Contexts
The Hover Definition dropdown mentioned above always has a special option 'Use Contexts'. If you select this option, GoMeddo will use the same behaviour as the normal calendars. You can find more information on how Reservation Display Contexts work in this article: Customise the Reservation fields shown on the calendar and hovers
Note that only the View context field applies on Schedule calendars.
If you are embedding the component into your own Aura component, the property can be set programatically through hoverDefinitionId. It should be set to the id of the hover definition you want to use. It can also be omitted, or set to 'CONTEXT' to use contexts.


