Connect your Facebook page
- Mike Hanssen (Unlicensed)
- Luuk Koetsier (Unlicensed)
- Jérôme Vincendon (Unlicensed)
- Jeff Kroon (Unlicensed)
Follow these steps to subscribe a page to our messenger system, using the Facebook messenger API
Step-by-step guide
Before we start register the Facebook account of the administrator of the Facebook page you want to subscribe, as a Facebook Developer via the following link: https://developers.facebook.com/. This will prepare your account for all the next steps. After the set-up is completed you will need to provide the Social25 team with data that is generated throughout the set-up, we recommend to copy/past this template into a document so you can easily update it with the correct values whilst setting everything up.
We recommend to share the Page Access Token and the App Secret through our Password sharing tool which can be found here. This will provide the Social25 team with a one time available link to copy/paste the values. Please make sure to set the expiration to 7 days before sharing the details.
| App Info | Page Access Token: copied in step 11 of the Generating Page Access Tokens section. Please use this tool to share this and set expiration to a week |
|---|---|
| App ID: find it on the dashboard of the app | |
| App Secret: find it on the Settings > Basic page of the app, click Show next to the secret. Please use this tool to share this and set expiration to a week | |
| Webhook URL: The webhook URL you've linked the app to | |
| Page Info | Page ID: see Get Page ID section below |
| your page's URL for verification purposes. This should be in the format www.facebook.com/<page_id> |
1. Create and configure a Facebook App
For the use of Social25 we ask you to create your own Facebook development app. If your organisation already has an app, make sure you get access to this app.
Creating a development app from a Facebook Business
If you do not have a Facebook Business, skip the following steps and expand "Creating a development app without having a Facebook Business" just below step 7.
- Navigate to https://business.facebook.com and select the business you want to create the development app for.
- Click on Business Settings, this button is located on the top right corner of the page.
- Navigate to Accounts → Apps
- Click on + Add
- Select Create a new app ID
- Under Audience, select Manage integrations for your business
- Under Type, select Business
- Enter a Display Name (For example "Social25 Integration")
- Click on Create App ID
Once your app has been created make sure to add a web platform. This won't be used for anything but is required according to the Facebook platform terms.
- From Facebook Business Settings, go to your App Dashboard
- Navigate to Settings → Basic
- Scroll down to where you see the button "Add Platform"
- Click on "[Website]".
- Enter the https URL to your website.
- Click on "Add"
- Click the blue-button "Save Changes" at the bottom
Setting up the Messenger Product and webhooks
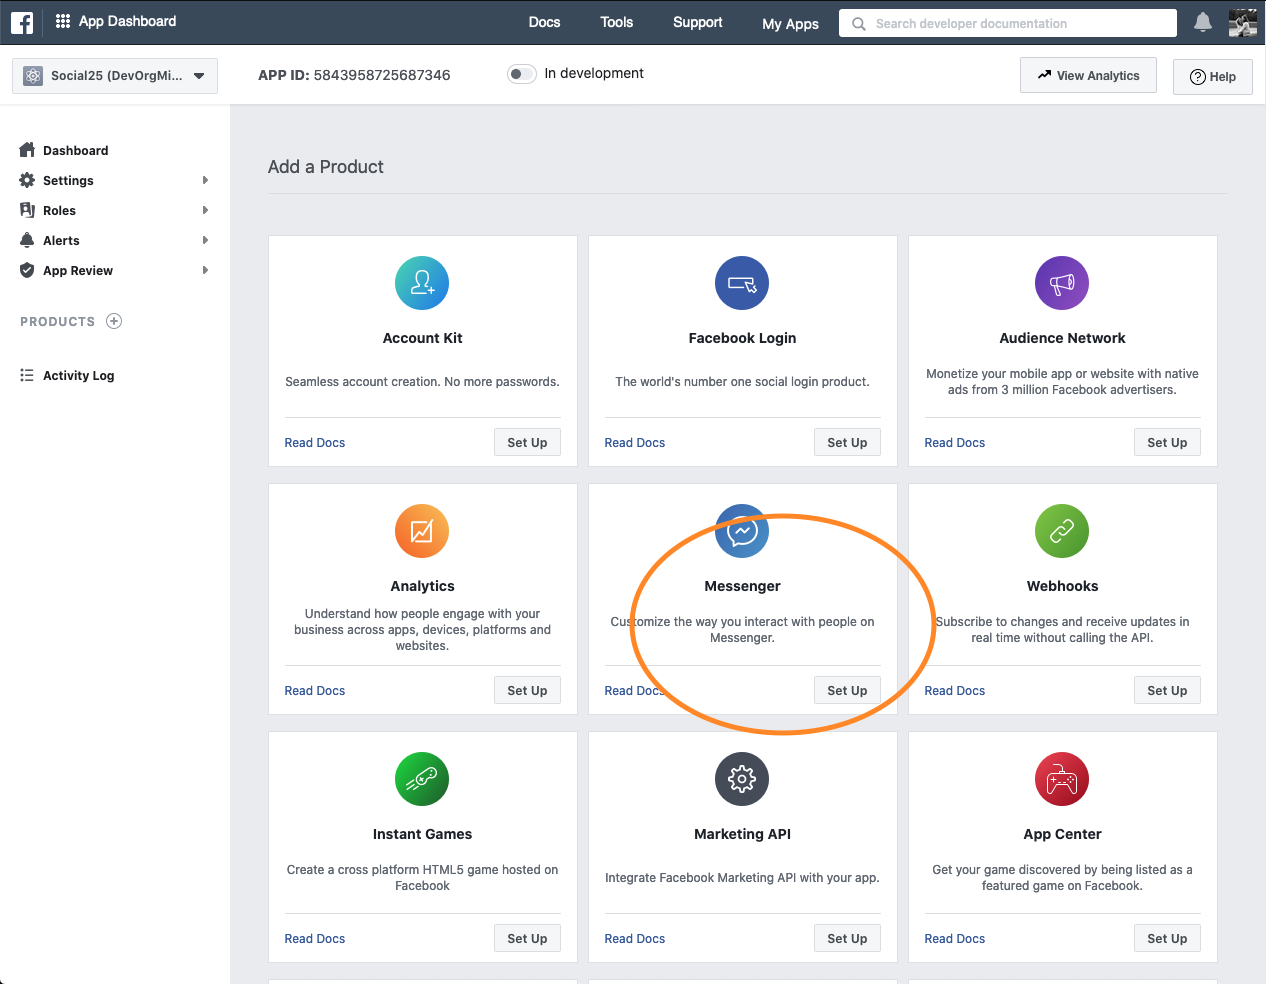
After creating your Facebook Development app you will be redirect to the "Products" page of your Facebook app. From this page we will immediately add the Messenger product to the app and configure the webhook.
- Search for the product called "Messenger" and click on "Set Up". (If you have already added the product navigate to the Settings page of the Messenger product.)
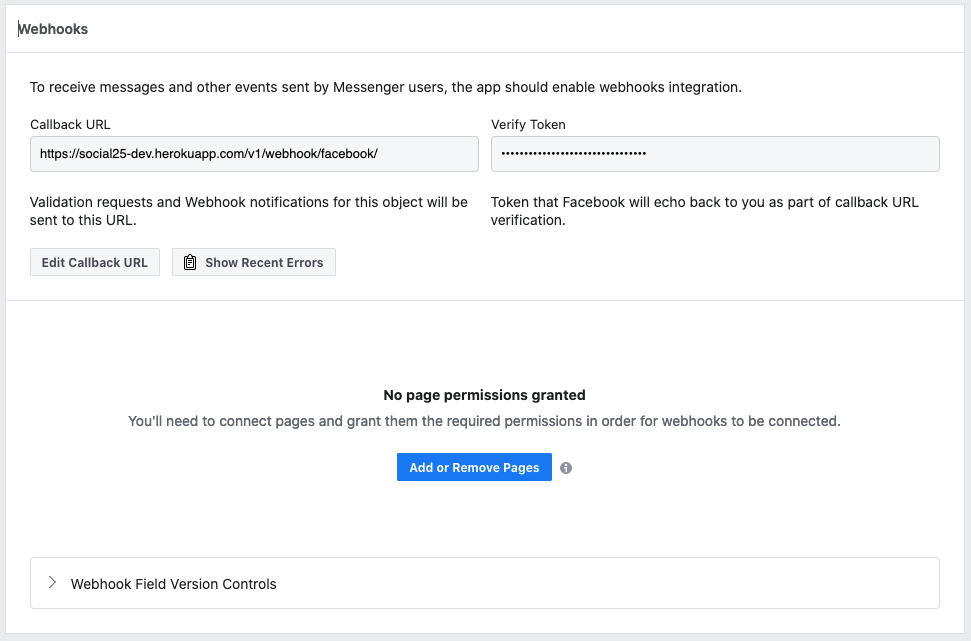
- Scroll down to the section that has the header "Webhooks"
- Click on "Add Callback URL"
Enter the following details:
Production Production Callback URL Production Verify Token ogbfb1ckiiszmnsp5cdqcevabebef9mz Sandbox Sandbox Callback URL https://social25-staging.herokuapp.com/v1/webhook/facebook/ Sandbox Verify Token 5544612db8c4e0626147a136ca6de183 - Click on "Verify and Save"
Your Webhooks are now configured and should look something like this.
Generating Page Access Tokens
In this section we assume a page has already been created that will be linked to the development app.
- Navigate to the Access Tokens section on the Messenger Settings page of you development app.
- Click on "Add or Remove Pages".
- Make sure you've allowed pop-ups and click on "Continue as <Your Name>"
- Check the box that is shown behind the pages you want to connect
- Click on "Next"
- Verify that the "Manage and access Page conversations on Messenger" permission is checked.
- Click on "Done"
- Click on "OK"
- Now you should see the page in the overview under Access Tokens.
- Click on "Generate Token"
- Copy/paste the token into the template that we provided at the start as you will have to share this value with the Social25 team.
- Click on "Done".
- You should now see "Token Generated" in the overview.
Once this is complete you can use the the information gathered and add this via the wizard. Add new social messaging channels
If you ever need to add any additional pages or regenerate tokens you can follow along with the steps from this section again.
Subscribing Pages to Webhooks
At this point everything has been configured and prepared for the connection to Social25. We recommend to send all details to the Social25 team first and wait until they have configured everything before actually subscribing pages to the webhook.
- Navigate to the Webhooks section under Messenger > Settings in the menu on the left (NOT Webhooks directly in the left menu)
- Click on "Add Subscription" next to the page you want to connect.
- Select the following Subscription Fields:
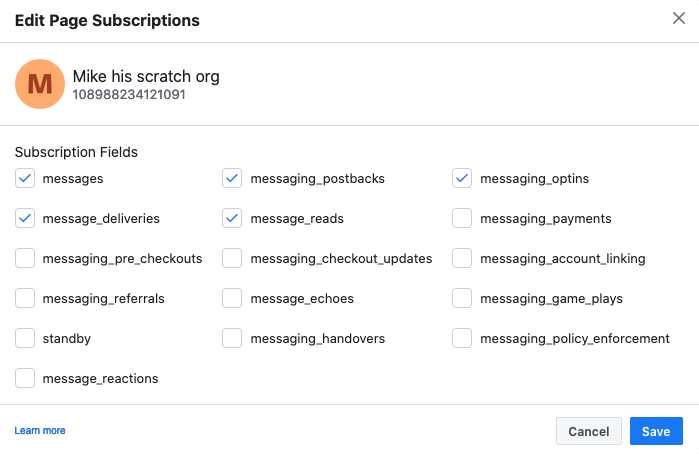
- Click on "Save"
- You've now successfully linked your page to Social25!
If you ever need to add any additional pages to Social25 you can follow along with the steps from this section again.
Preparing for the pages_messaging permission
This pages_messaging permission is only required if you want to take your app Live. Taking your app live will allow anyone to send messages to linked pages. As long as your app is 'In development' only registered Testers, Developers and Administrators will be able to send messages to linked pages.
To prepare your app for requesting the pages_messaging permission you will need to configure some basic details in the Development app. This section explains several different steps that need to be taken before you can request permissions.
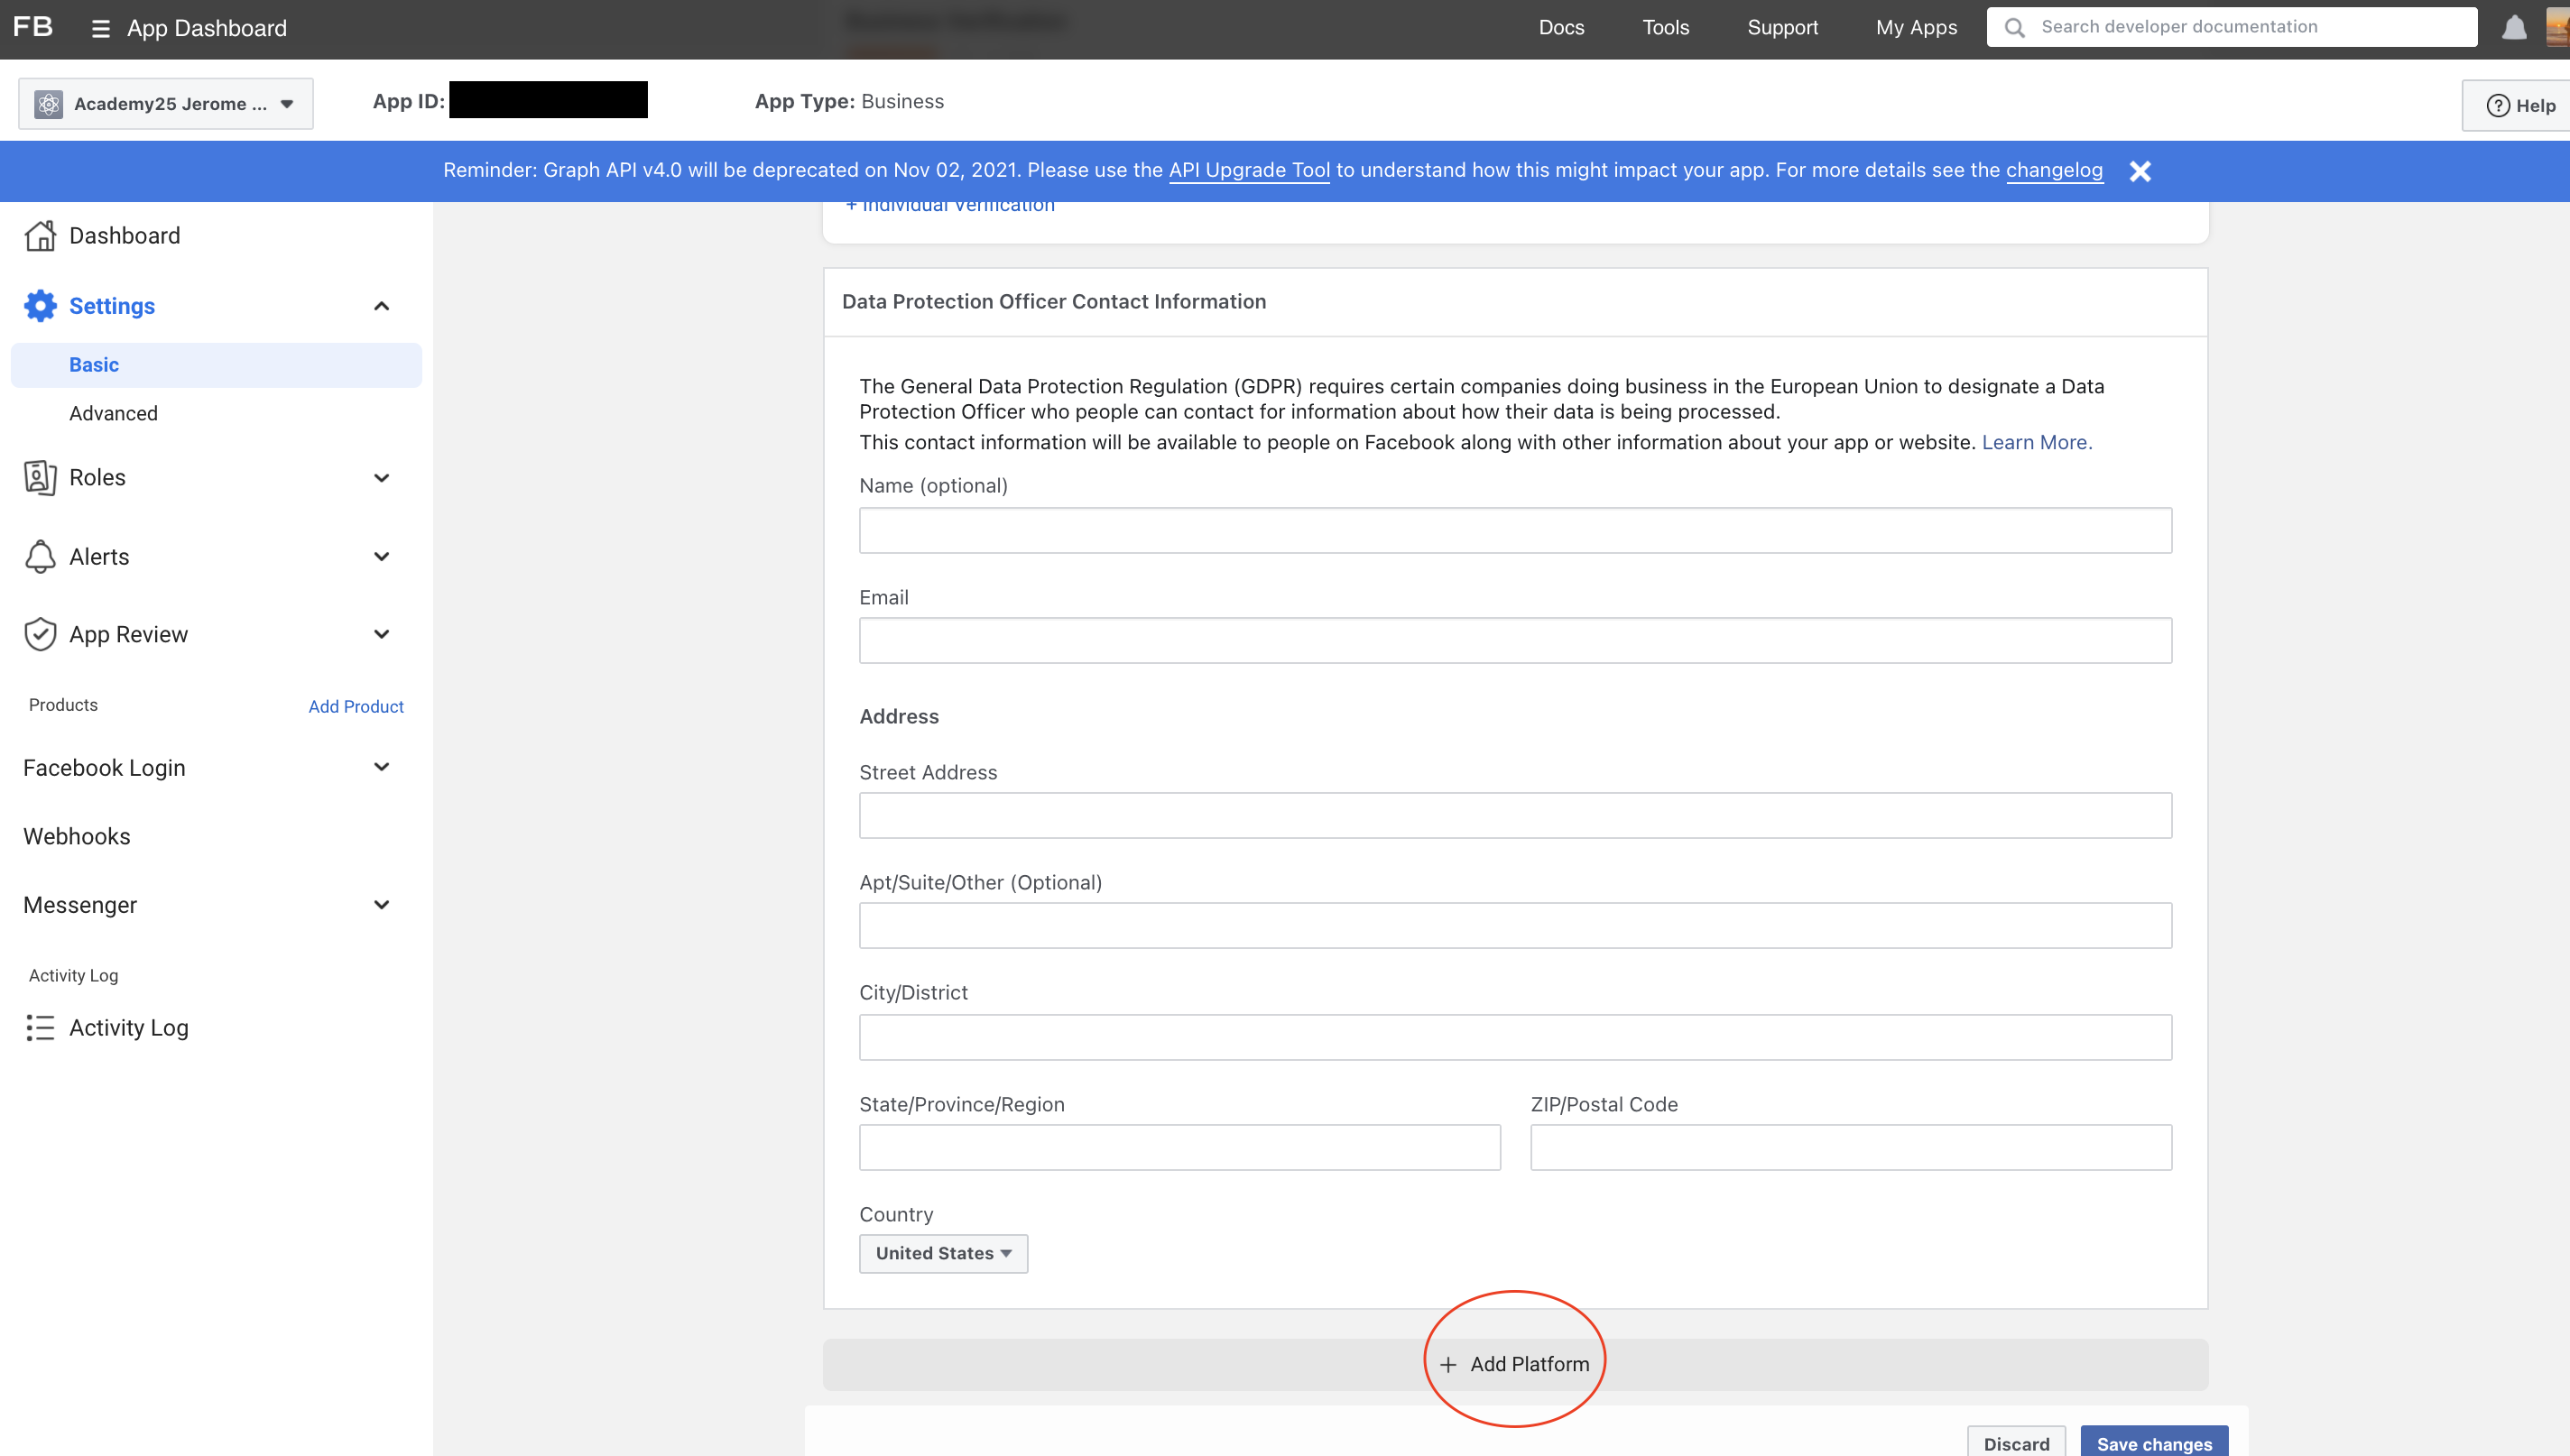
To be able to request the pages_messaging permission and set your app in production you will need to upload an icon to your app. This icon will never be displayed to the end user unless you're utilising opt-in techniques for your pages. We recommend to use a 1024x1024 icon of your own logo. If you prefer to use our icon feel free to do so, you can download it here:
![]()
You can upload this icon by navigating to your Facebook developer App. Open up Settings and click on basic. Here you can upload your image and click "Save Changes".
Adding additional permissions
Facebook Messenger also requires you to activate the additional permissions to fully set up the integration.
Permissions that need to be enabled are:
- Business Asset User Profile Access
- public_profile
Adding people to your Facebook Developer App
If you want to give other people control over your app you can add them as a Developer or Administrator of your app. If you want to give people access to send and receive messages from the pages connected to the app without having set your app Live or having pages_messages permission, make sure to add them as registered Tester.
Adding people that are not part of the Facebook Business yet.
- Navigate to https://business.facebook.com and select the business that owns the development app.
- Click on Users → People .
- Click on "Add" next to the word People.
- Enter the email address of the people you want to add.
- Click on "Next".
- Click on Apps in the left side bar.
- Select your app.
- Select the roles you want to assign.
- Click on Invite.
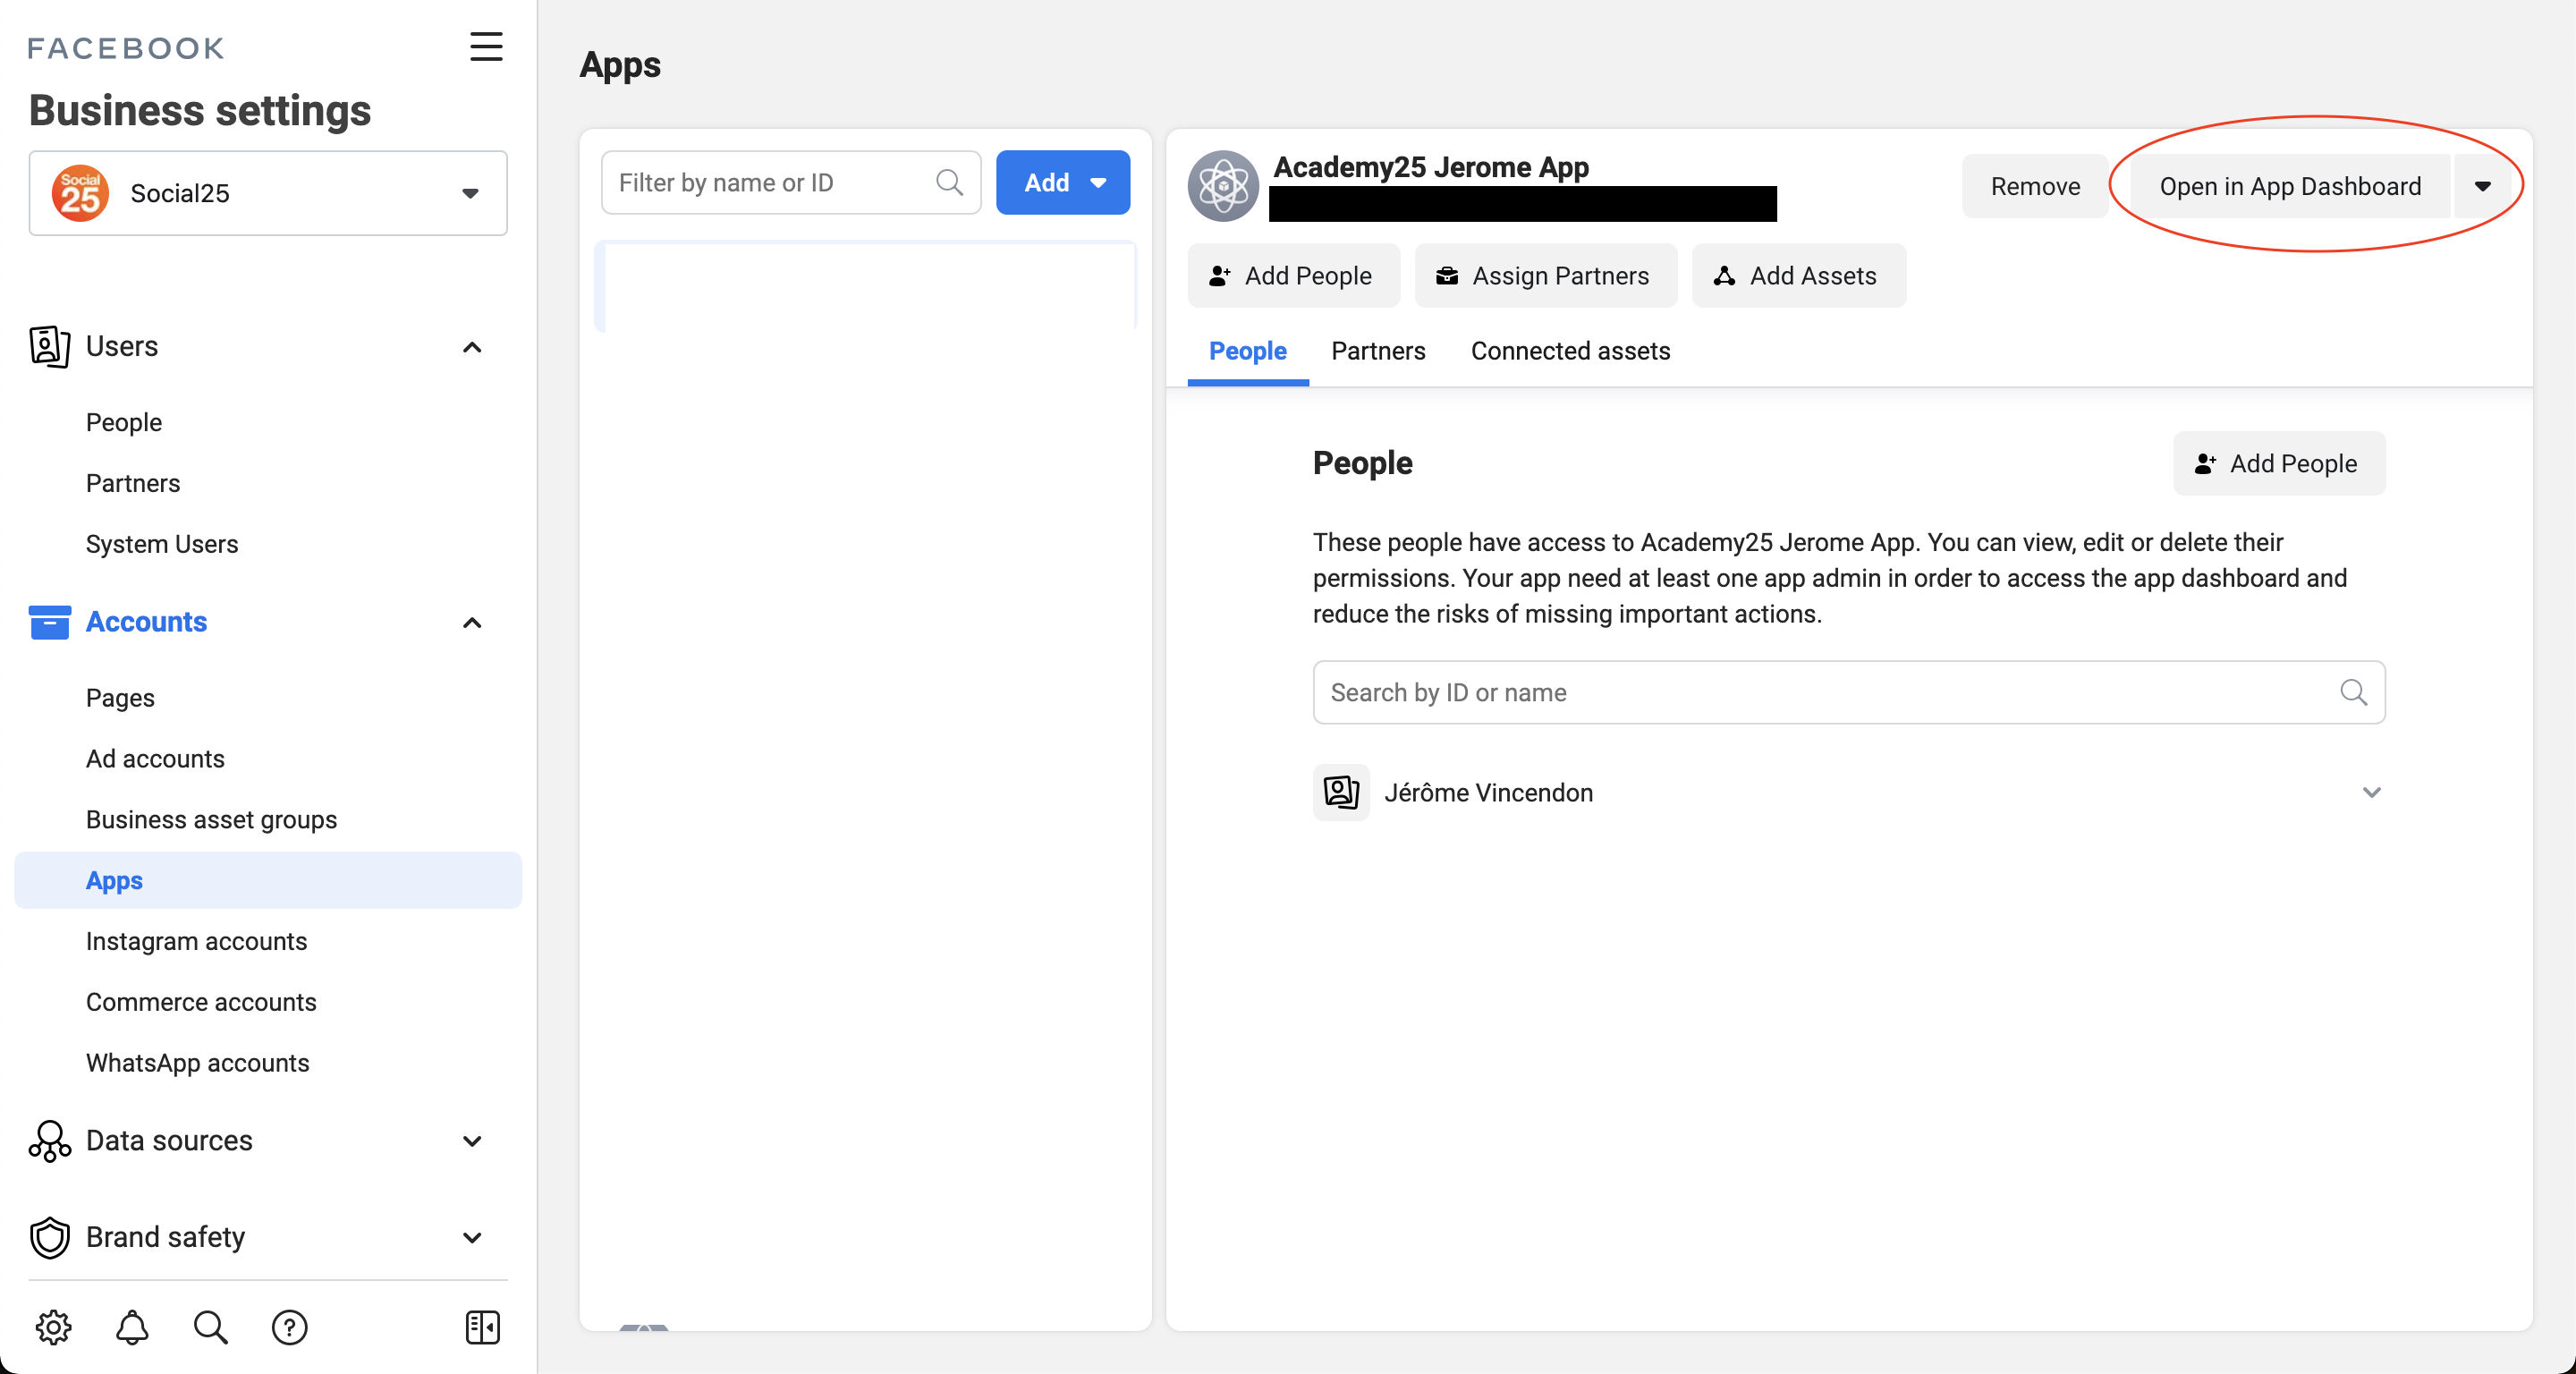
Assigning people that are already part of the Facebook Business.
- Click on Accounts → Apps.
- Select the app you want to add other people to.
- Click on "Add People" this button is shown on the right hand side .
- Select the person you want to add.
- Select the roles you want to assign.
- Click on Assign.
Get your Page ID
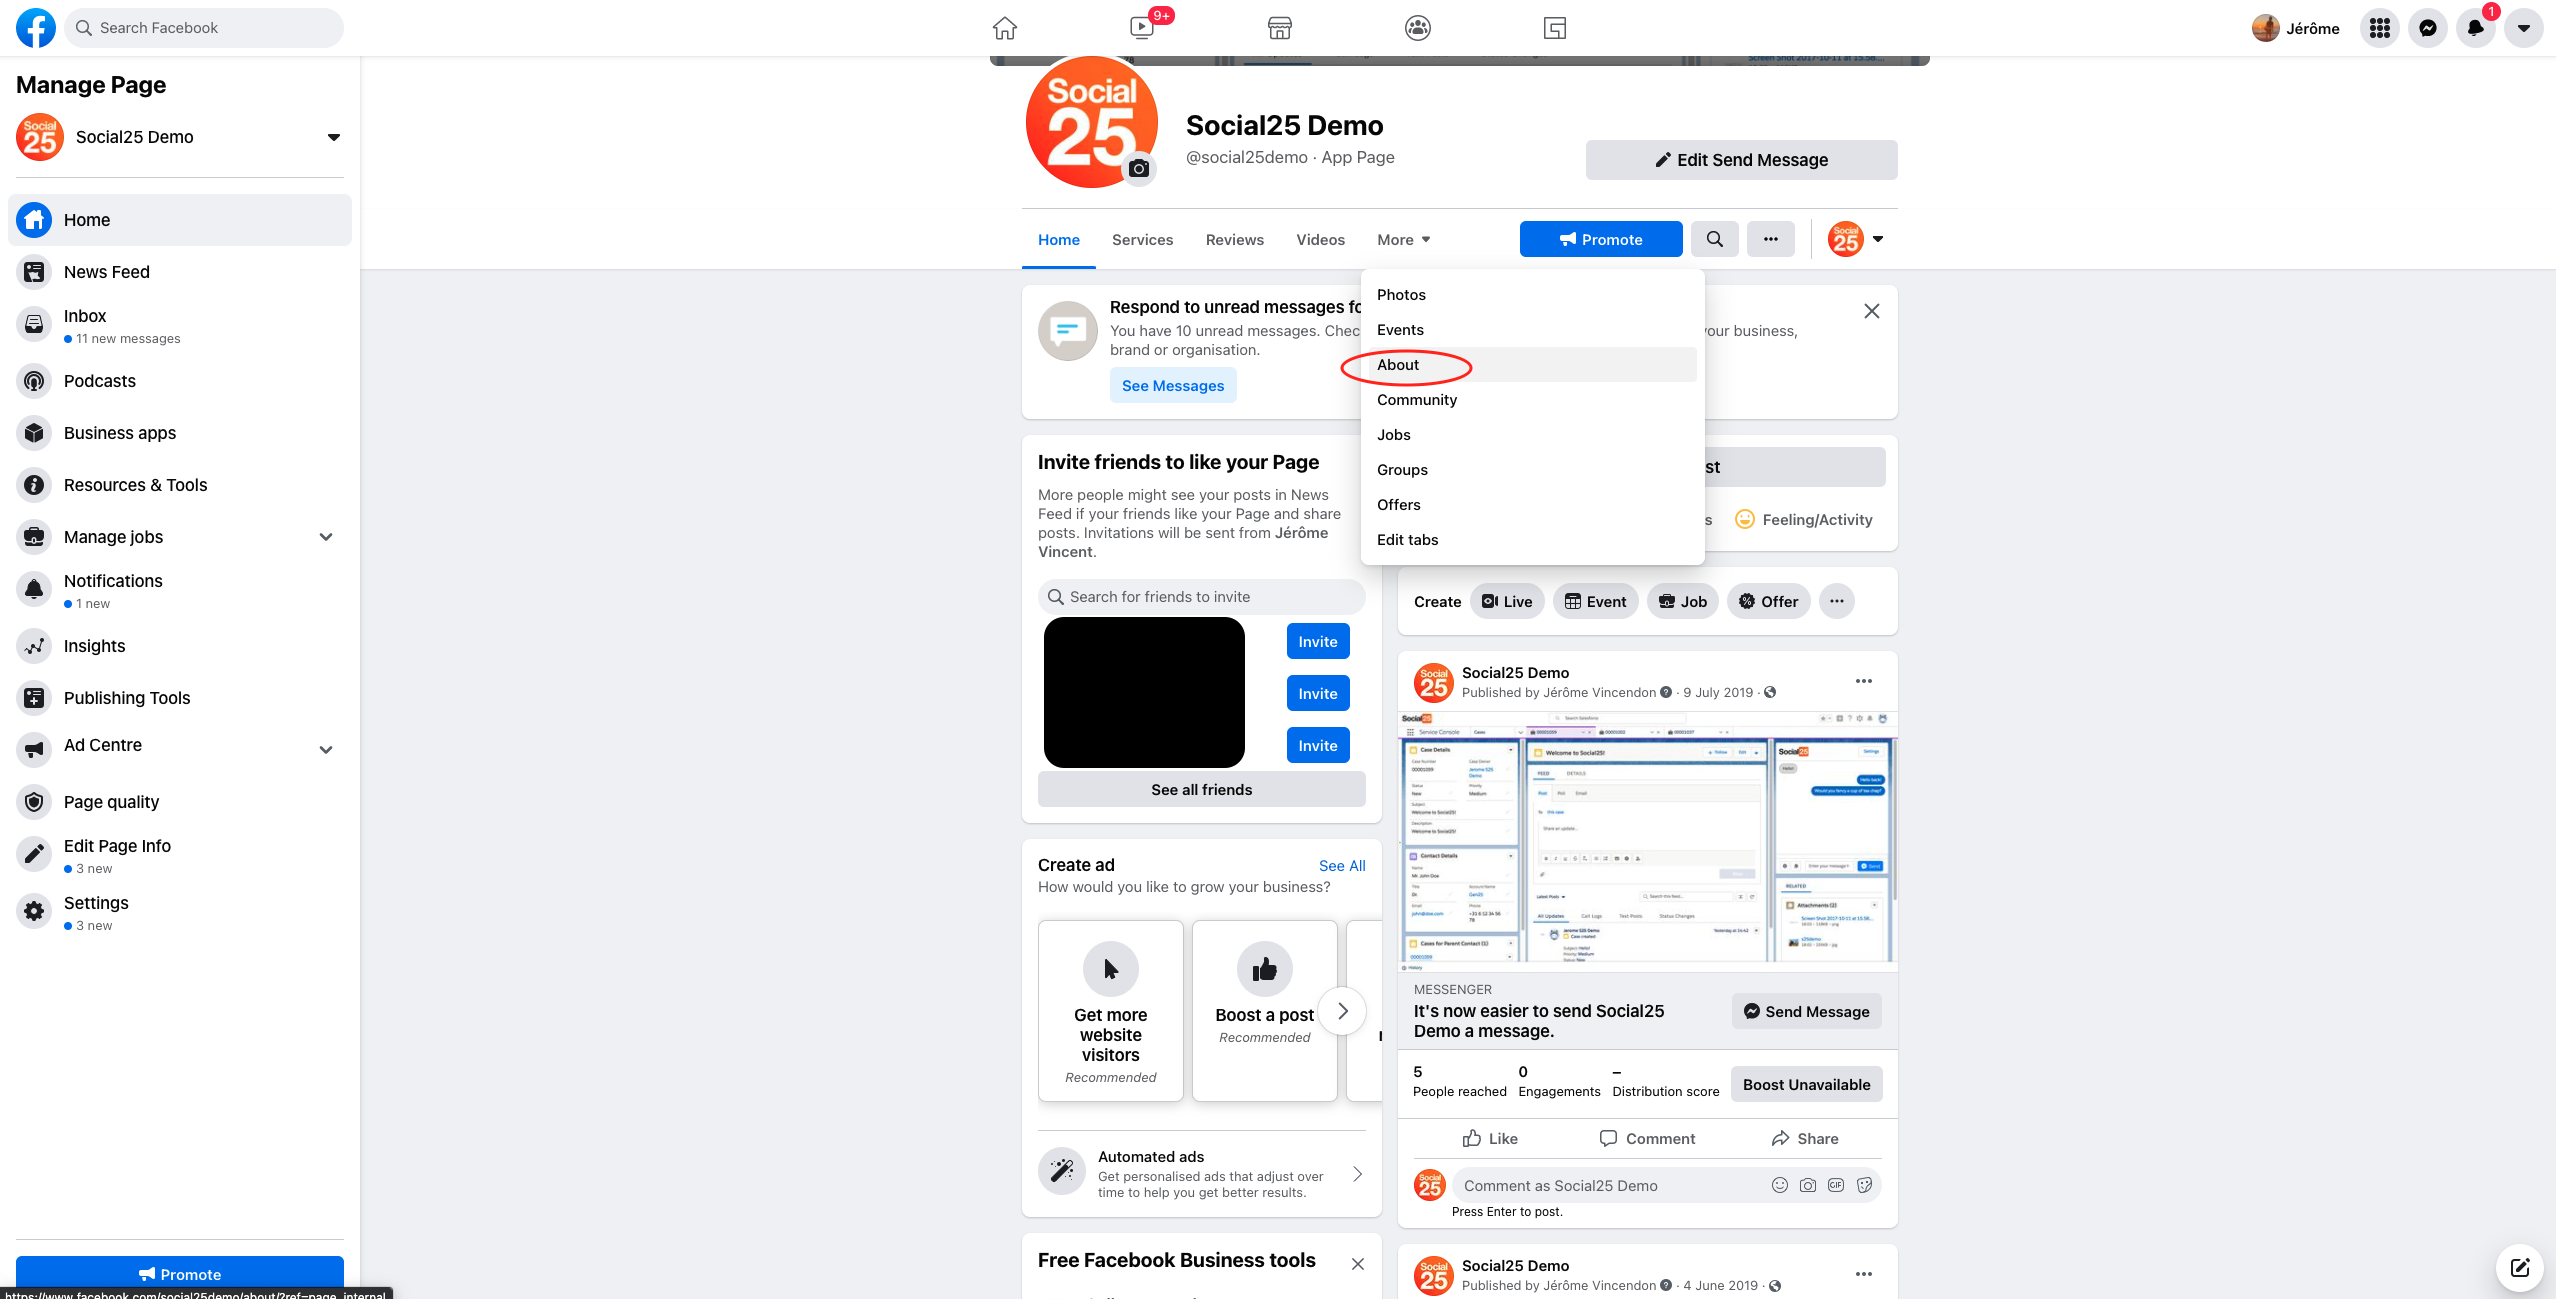
- Go to your Facebook page
- Click More and then About
- Scroll down until the More Info section
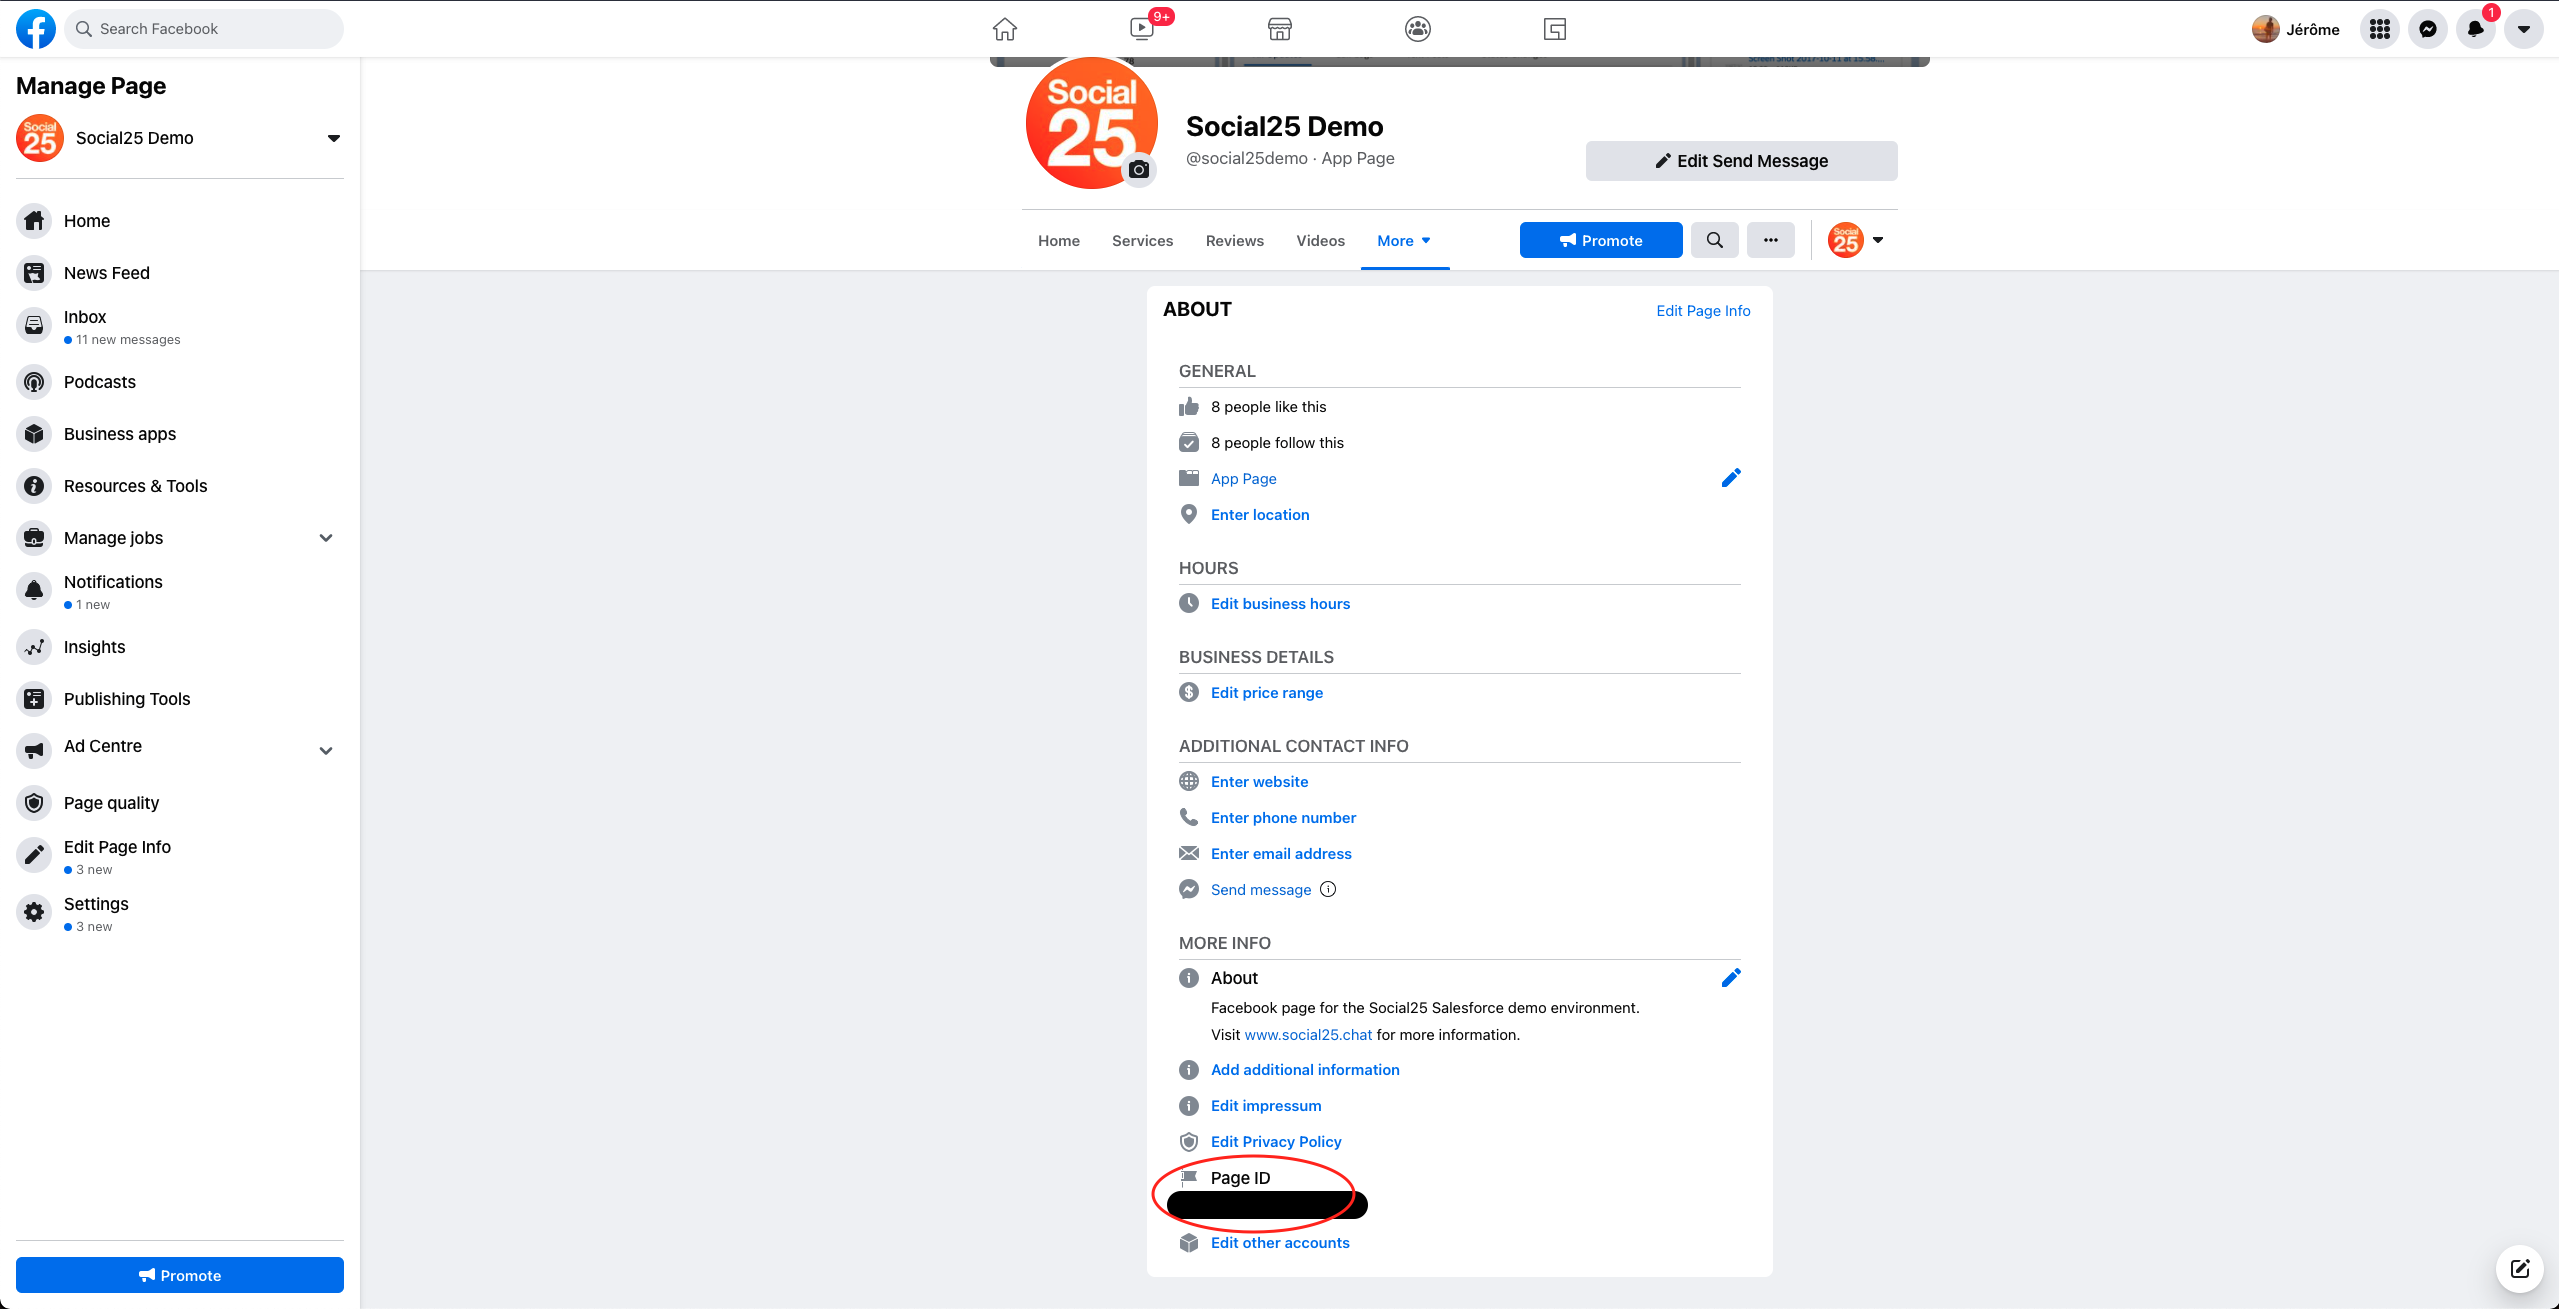
- Copy the Page ID
2. Verify your business (This section comes from the Facebook Documentation).
To be able to take your app Live, you will need to request business verification. This is only needed if the app has not been linked to an existing business that was not verified yet. The header includes a link to the most up to date version of the Facebook Documentation on how to request Business Verification. But we've also included the instructions in this section.
3. Requesting pages_messaging permissions
One of the most important permissions you will need is the pages_messaging permission. Without this permission even if your app status is Live anyone who isn't a developer, tester or admin of your developer app their messages won't be submitted through the webhook.
- Go to https://developers.facebook.com and navigate to your development app. This is the app that you created in step 2 of section 1 of this article.
- Navigate to the Messenger > Settings.
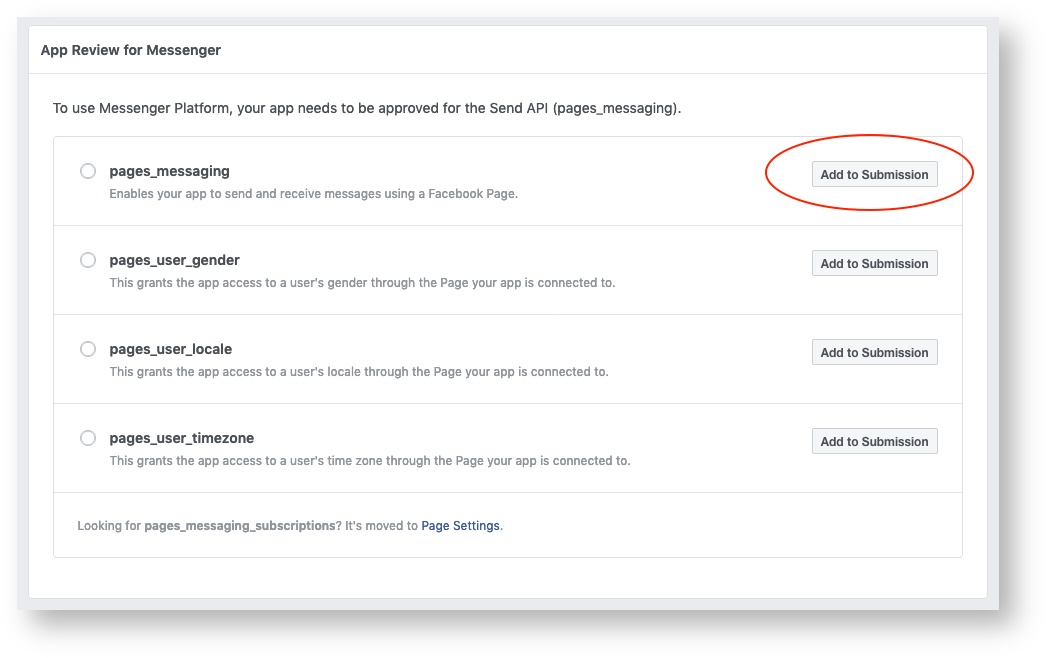
- Scroll down to the App Review for Messenger section.
- Add the pages_messaging permission to your submission. This is done by the "Add to Submission" button.
- Now scroll down to the "Current Submission" section. This will now tell you that details are missing from your app.
- To complete the details needed for the pages_messaging permission click on "Add Details"
- Check "I agree to Facebook's permission and feature usage guidelines."
- Tell about the use case on how you will use Social25. If you are just adding servicing through service agents make sure to check "Involved business integration to support live chat by humans."
- Select the page you want to connect.
- Fill out in detail how a Facebook Employee might use the integration. This could be something like:
- Go to our Facebook Page and send us a message
- The message will be synced to our Salesforce Service Cloud where a case is created and assigned to a service agent.
- As soon as a service agent is available they will answer your question. This will always be answered by a human agent. There are no bots anywhere in our process.
- Now you need to show how the integration works. The best thing to do is to records your own video on how Social25 works in your Salesforce service cloud with the page you're trying to connect. Alternatively, you can use our video that shows how the product works:
- Now click on save
- Make sure there are no other requirements left for you to submit your request. If this is the case make sure to complete those steps first.
- Now click on "Submit For Review"
- Important: The Facebook Messenger review team will send you a message. It is very important to reply to this message as soon as possible from your Salesforce Service Cloud. Otherwise they will not approve your review.
A lot of the information comes from the Facebook App Review guide (https://developers.facebook.com/docs/apps/review/). If you encounter any issues with the guide not matching the steps please refer to this guide and send us an email via info@social25.chat.
Related articles
Make sure the person that is going to add the page to our system is an administrator of the page that is going to be added. Only administrators are able to complete these instructions.
The tokens generated by this set of instructions should be treated as highly confidential!
As an admin of the APP you can change a lot of settings. Do not change anything other than instructed, as this can easily cause downtime of existing pages in your Facebook organisation.